
The next section of my “Hamacon Analog Gaming Bible” is a setup and teardown checklist. There’s nothing revolutionary here, but it’s helpful to remember a few things that will make your life easier down the road.
Setup
Take photos. After setup is complete, take a few photos for reference. If there’s something that works well, it can be helpful to have a photo so you can duplicate it in the future. (This is one I don’t think I did well, since I can’t find any recent examples. It tends to get lost in the shuffle of con prep.)
Start a “lessons learned” document. As soon as you start, I create an Evernote document to write down any immediate impressions on your phone about what went right/wrong. (OneNote, Google Keep, Google Documents, etc. would also work.)
Label every game in the library with the owner’s name. I typically do this before I pack, but I always bring a label maker for any games I’ve missed, or any last-minute donatings. This helps ensure owners get their games back at the end of the con (especially if you have multiple copies of the same game.)
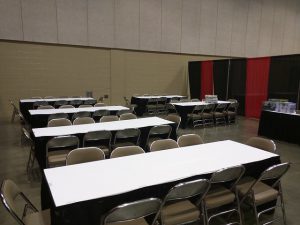
Organize for different types of games. At Hamacon, we typically had rows of long tables; at Hamacon Minicon, we also had a few large round tables. These will work for most types of games, but you should consider specifics:
- Miniatures games like Warhammer or Warmachine will require extra space. If you only have long tables, you may need to slide two of them together.
- Werewolf and other social games can be played in a variety of configurations. A circle of chairs will often be preferable to a table (so save any extra chairs when you’re setting up tables). If you run out of tables and chairs during busy periods, Werewolf players will often use the floor, so it can be helpful to leave at least one large open area to act as overflow.
Teardown
Look for missing pieces. Move every table, and lift up table skirts or tablecloths.